Tag: <span>Sewing</span>

Watercolor Stasia Dress

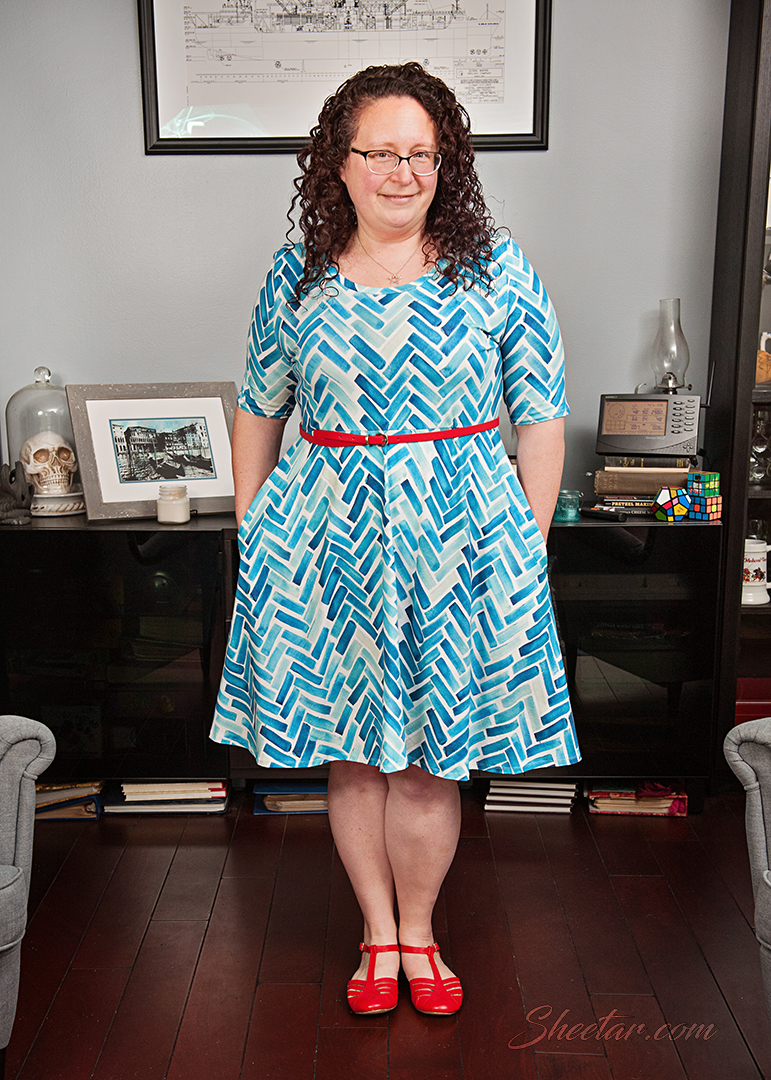
Stasia Dress by Sew Liberated – finished 2019

I think this was the second Stasia dress I ever sewed and I definitely modified this to fit me better.  I took out the point at the center and raised the waistline about three inches since I have a VERY short torso.  Made the skirt a little longer to accommodate the sorter bodice.  Also modified the sleeves to make them hit at about elbow length.  All of these mods gave me a dress that I’ve sewn I think about eight times now.  I’ve got the fit absolutely down, the use of the knit fabric makes it super comfortable and it still fits even with small weight changes, plus it’s a great way to show off a fun fabric!  I have a little bit of a penchant for fun prints, and this is no exception.  The fabric is Spoonflower’s cotton spandex in a blue, watercolor herringbone print by Annelie Hervie.  I’ve paired it here with red accents for a more dressed-up look, but it could easily go with a denim jacket and sneakers for a more casual feel.  Did I mention the pockets?  OH THE POCKETS.  They hold my massive smartphone without risk of it falling out and I love, LOVE these pockets.  I think the designer once mentioned that this dress was like secret pajamas because it’s so comfortable, but no one has to know that you’re essentially wearing something that feels like pajamas because it looks so cute.  These dresses have become a wardrobe staple and I’m almost hesitant to even try a new pattern for a knit dress because this one just works SO well.

Love Note Sweater & Gypsum Skirt

Posting some old photos since for whatever reason, this never made it to the blog, but I did put them up on Instagram.  Weird?  These were finished/photographed in the early days of the pandemic (May 2020).  I thought I’d put them into the blog here and talk more about the modifications and whatnot.

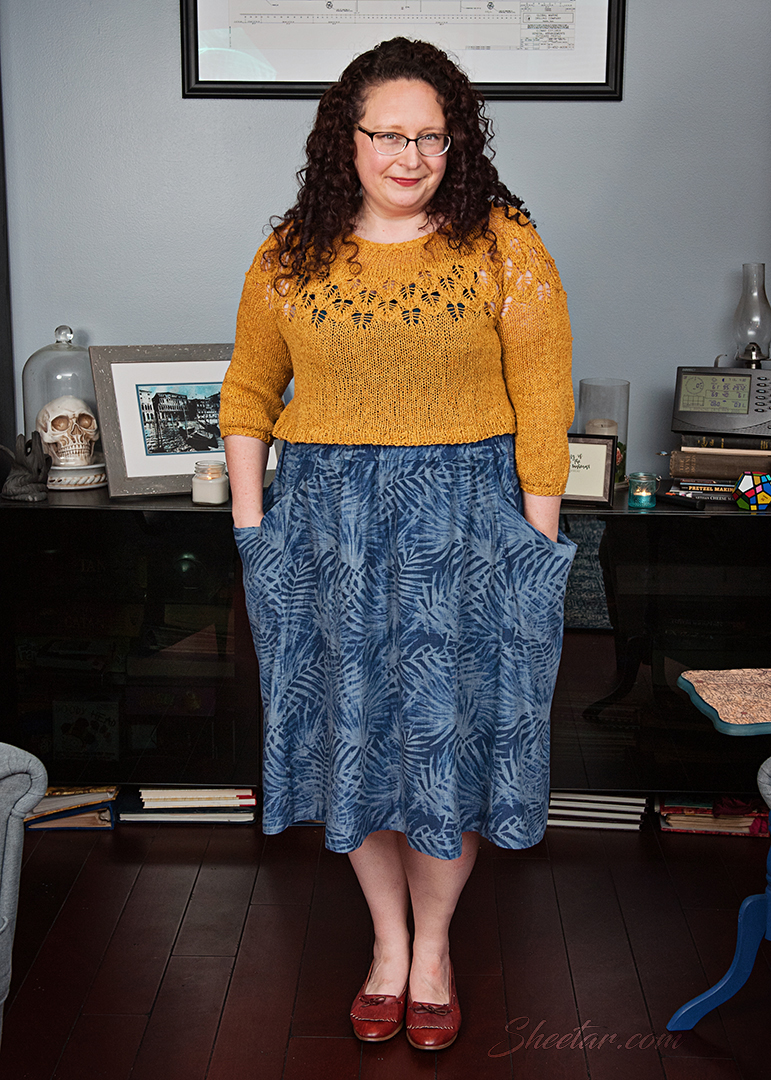
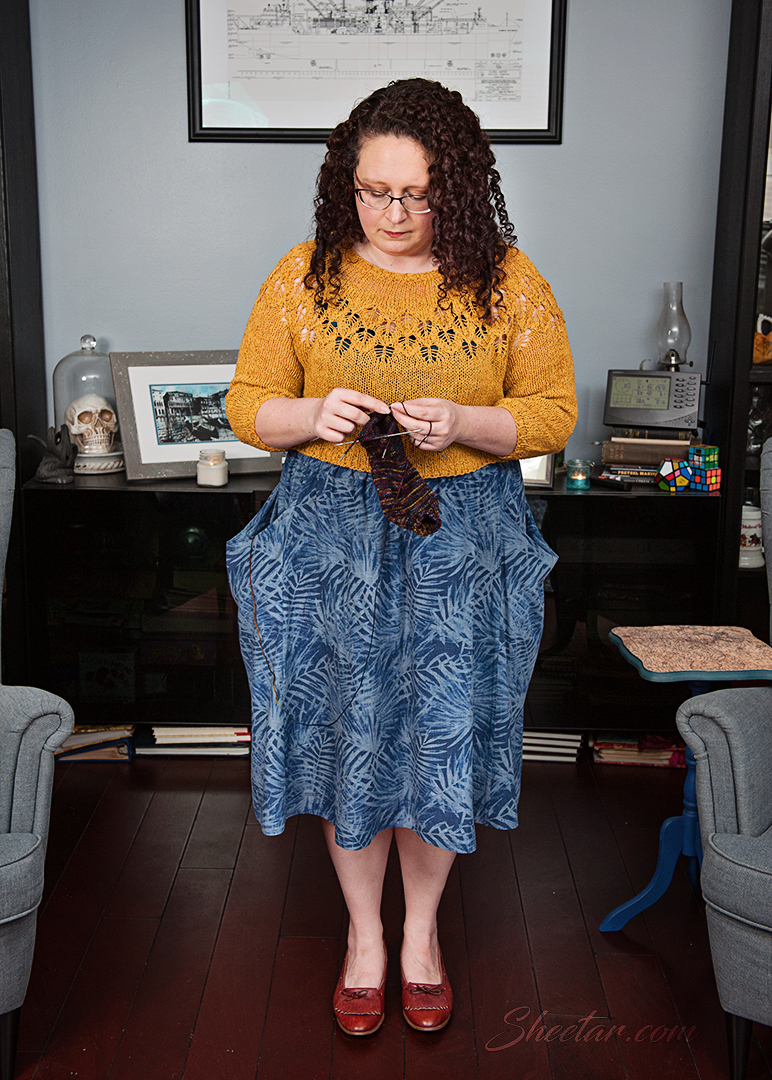
First up, the skirt!  The skirt is the Gypsum Skirt by Sew Liberated.  I’ve found their patterns to be very well written, sized well, and be really easy to follow in terms of instructions.  This went together pretty quickly – I chose a size that matched my waist measurement the closest since the hips were a little more free.  The extra details with the felled seams and those MASSIVE pockets (yes, you can hold an entire knitting project in that pocket) really make this a nice finished project.  The fabric is from JoAnn Fabrics and I think it was a rayon/linen blend or some kind of faux linen because it’s got a nice drape to it, but just enough structure to have crisp seams.  I’ve worn this a bunch already and I still love it.

Love Note Sweater
Started: 22 January 2020
Finished: 8 February 2020
Pattern: Love Note by tincanknits
Yarn: Cascade Yarns Roslyn (65% Wool / 35% Silk)
Needle: US 7 & 10
Notes:Ravelry Link
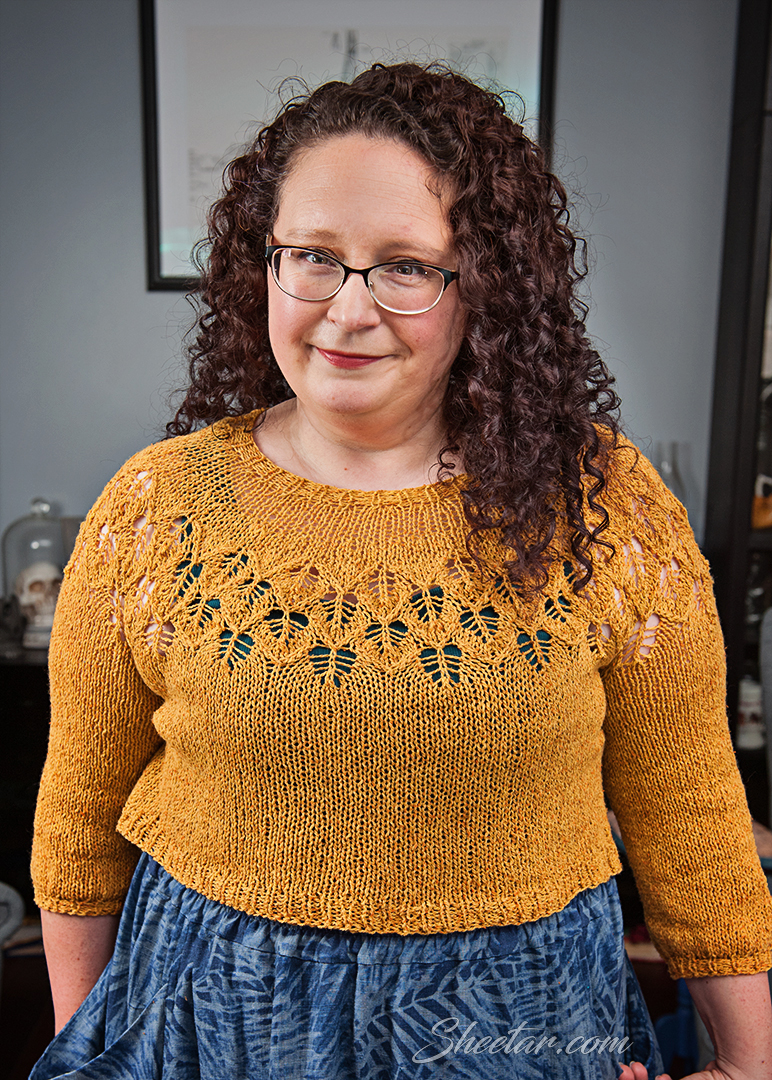
This was obviously a super quick knit for me and it went together in no time at all.  I ended up using a plain DK yarn instead of the fingering+lace combo held together.  I don’t really like that fluffy, halo-y yarn look, so this sort of rustic, tweedy yarn fit better for me.  I got gauge perfectly on a swatch, so I forged right ahead and knit size L per the size chart which came out right.  I want to say I might have shortened this by an inch or two from the instructions since I’ve got an absurdly short torso and wanted this to actually be cropped instead of falling to my hips.  The sleeves I also knit shorter, only to 11.5″ length so it comes about to 3/4 sleeve length.  I wear this one A LOT with all kinds of things underneath – dresses, jeans, etc.  Easily one of my favorite handmade sweaters!

Spoonflower Cheater Quilt – Final

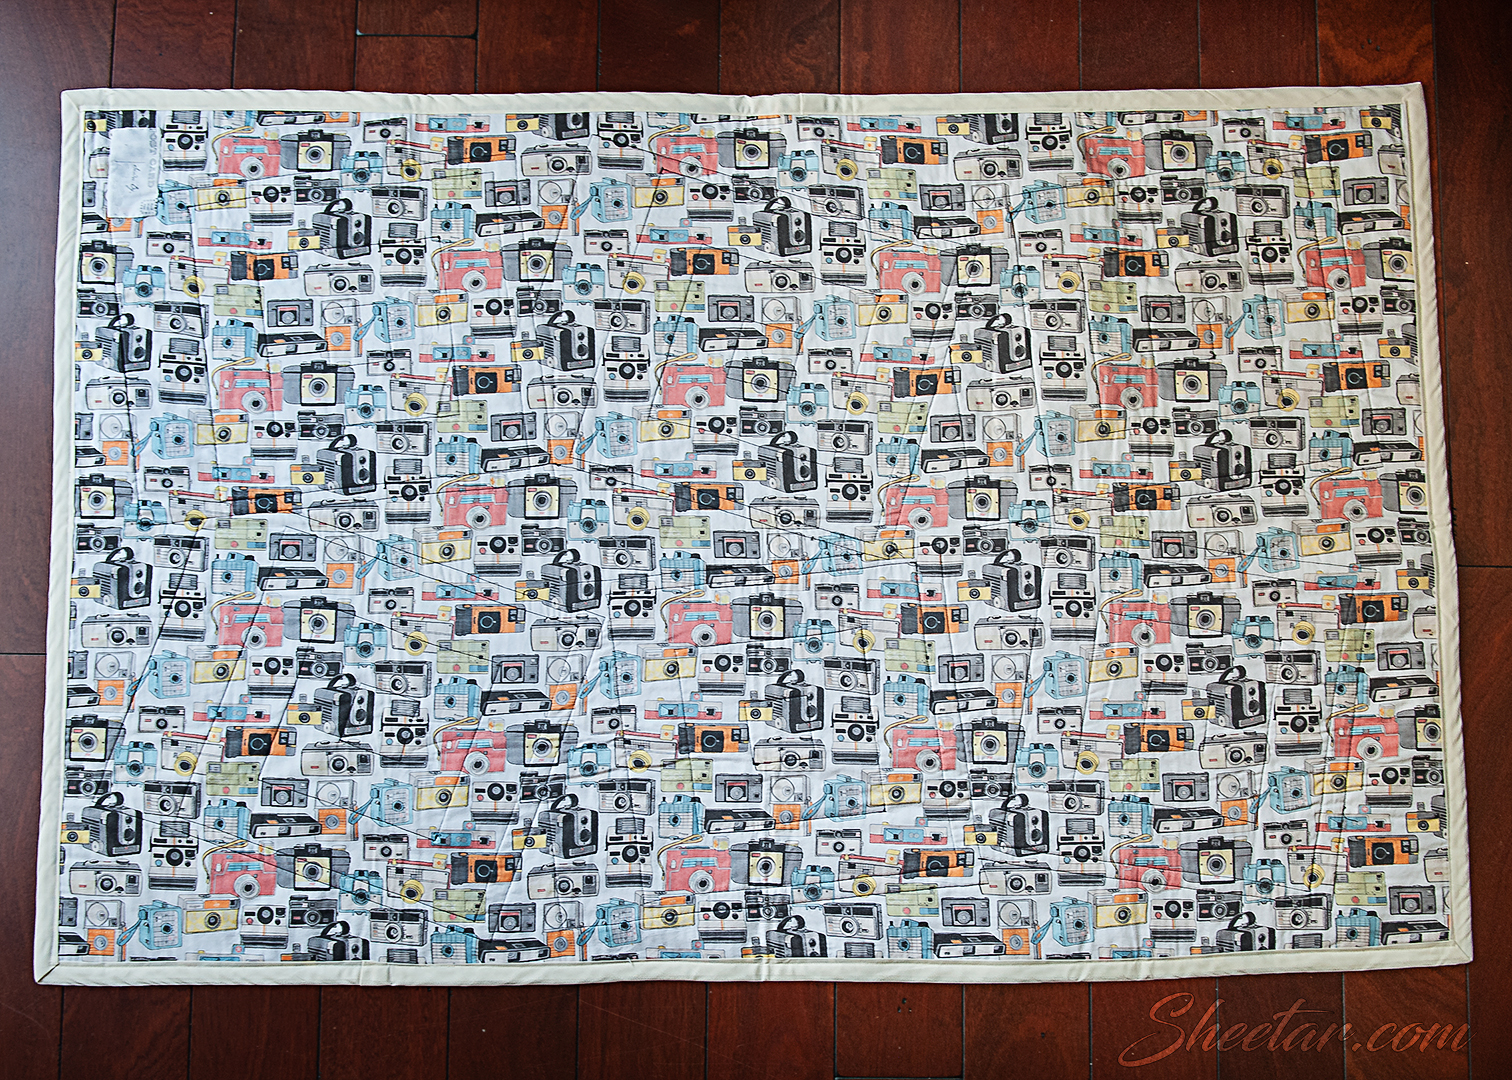
Following up all the way from 2015, here’s my final Spoonflower Cheater Quilt.  For a look back (because I’m the slackiest slacker ever)..
Lesson 1 & 2 – Link
Lesson 3 – Link
Lesson 4 – Link

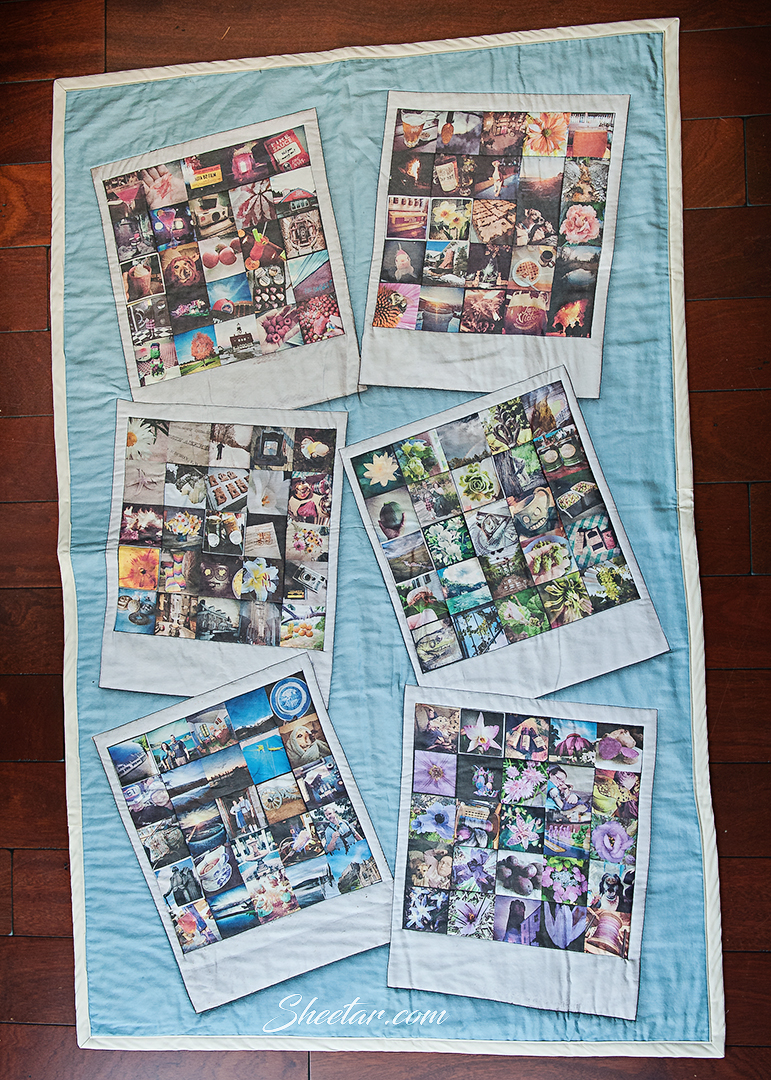
Whew, so the finished project!  If I remember correctly, my sewing machine died at some point while I was doing the actual quilting around the squares, so that set me back till I could get a replacement, and then this poor thing moved houses, folded up neatly for *counts on fingers* SEVEN YEARS until I’m finally back posting about it and found a place for it over the back of a chair.  Pardon the crummy photos – I laid it out on the floor and stood on a stool, so they’re not great, but they’re done at least!

It’s far FAR from perfect – the quilting is uneven and I have puckers here and there, it doesn’t lay perfectly flat.. but I do like it for a first go at quilting.  I learned some things, and it’s neat to have the whole of 2014 on one finished piece.  I could see possibly doing one of these for every 5 years or so?  I’ve got an archive of digital photos for over 20 years now, so it’s possible to even go further and do four panels (one for each set of 5) and put them together into something larger.

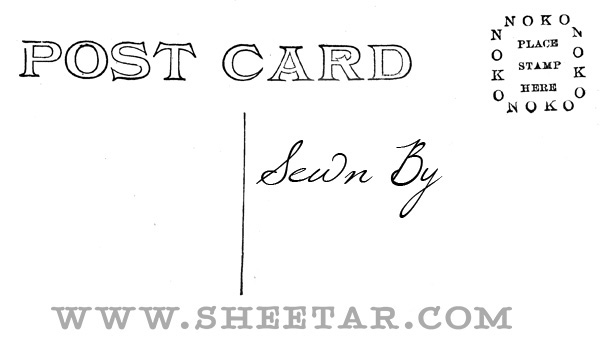
The back is the design “Make it Snappy” by pennycandy and I even had little custom postcard style tags printed by spoonflower (you can kind of see it in the top left corner in the photo above – I digitally obscured my name).  I know, the print was oriented horizontally instead of vertically so it doesn’t quite match the orientation of the front, but I loved this print SO much, it didn’t really matter that the orientation was different.

It’s a shame that Instagram has changed so much since this quilt was completed.  I really enjoyed basic old static Instagram photos since you can’t put videos or reels on a quilt.  Instagram used to help me curate moments from the day down to one or two photos instead of my massive photos stream on the phone that just goes on forever and ever.  I’m not sure this is something I could really replicate again without doing tons of extra work to curate down photos and group them together by color theme.  Overall, this was a neat project and a fantastic use of custom printed fabric from Spoonflower, and I’m glad I joined the challenge and finally posted my finished project!

Sew My Style 2019 – February

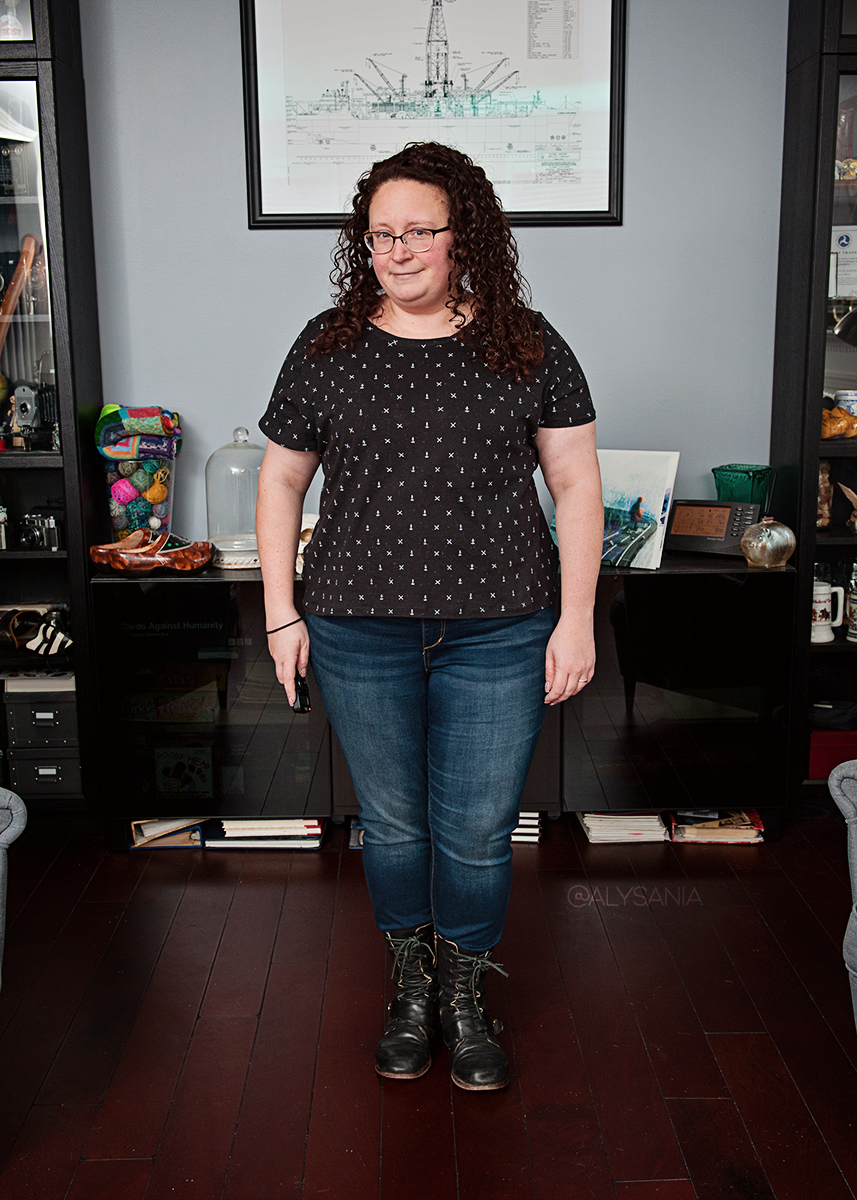
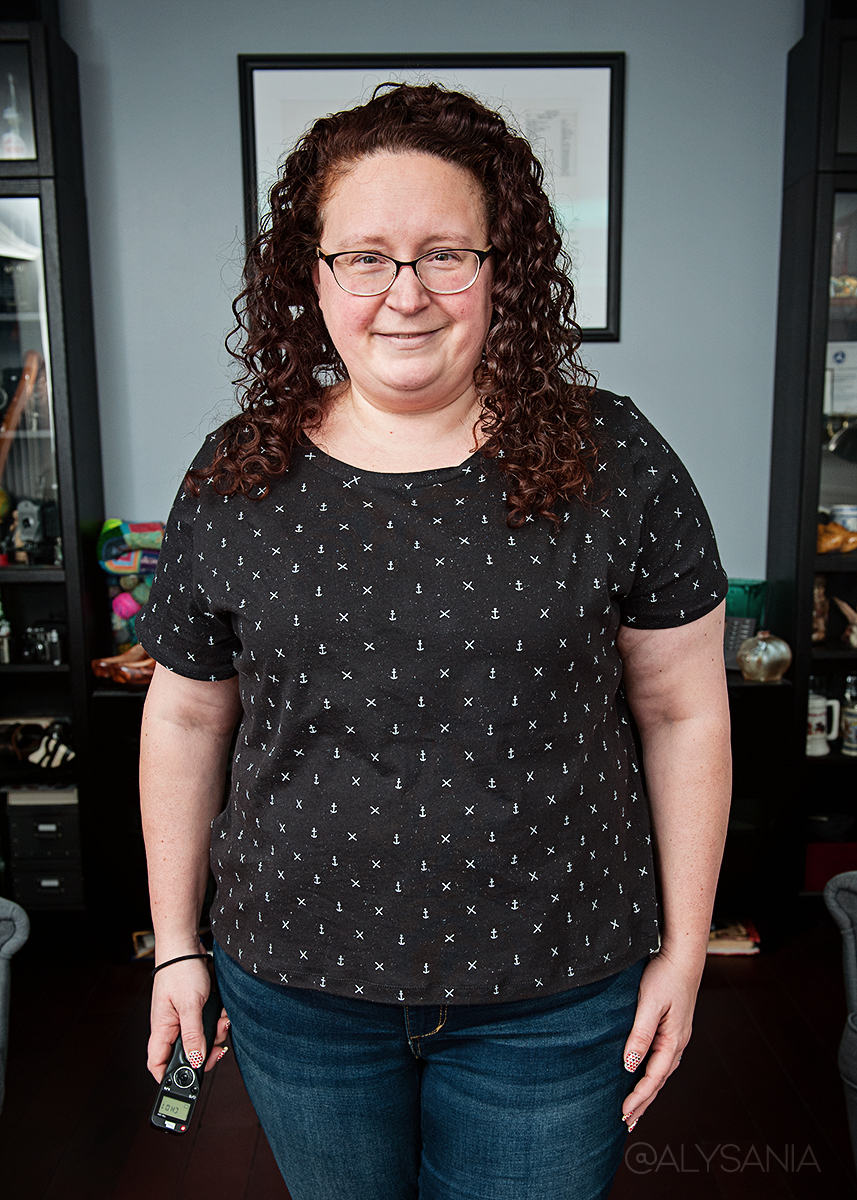
This month’s prompt for Sew My Style included two pattern options, the Sheona Top/Dress by Athina Kakou and the Givre Top/Dress by Deer and Doe.   Both are pretty basic tees that are extended to knee-length straight dresses.   I really can’t wear straight dresses like that since they don’t flatter my body shape, so I opted to keep it simple and sew the Sheona Top.   I didn’t have any knit fabric on hand for this, so I ended up finding a cute little anchor and “x” print from Girl Charlee.   It’s *so* hard to find cute knits that aren’t florals or juvenile prints, so I maybe went with something a little more simple than I would otherwise, but the price was right at $6.75/yard and it’s 100% cotton jersey instead of a polyester blend.   Before I sewed the top above, I did end up sewing a wearable muslin out of clearance fabric from Joann’s that was marked as “youth” fabric, but also the only cotton knits they had in the store that weren’t awful floral prints were in the youth section, and it was either the fabric seen below, or rainbows and donuts (I WAS SO TEMPTED THOUGH).
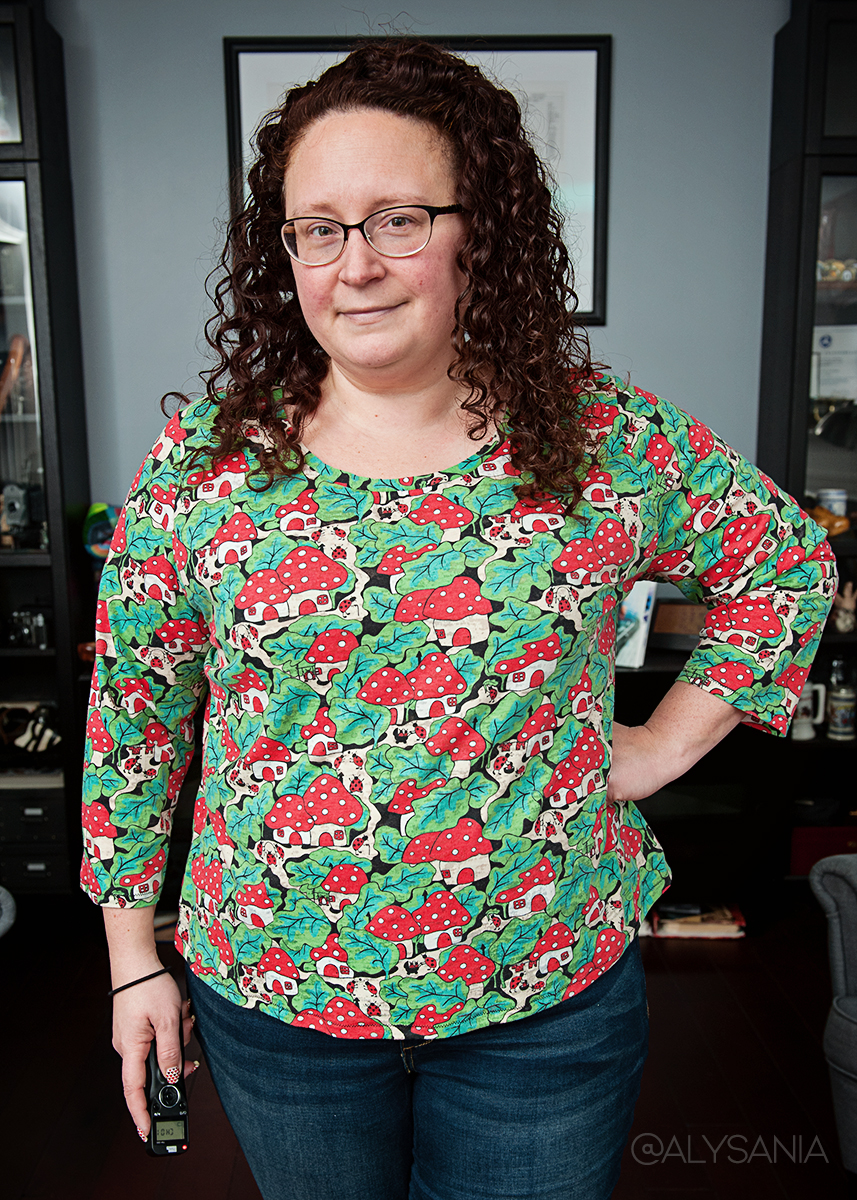
The fabric is kind of sheer in spots with a sort of burn-out effect and there are all these little lady bugs doing funny things like laundry, pushing a carriage, playing jump rope, etc.   It’s adorable, but definitely designed with someone younger in mind.   However, that’s never stopped me from wearing silly prints before, and it’s not about to stop me now!   I sewed the lady bug top at size 24 thinking that since I was between sizes, I’d best size up since the pattern mentioned negative ease in the hips and that’s the opposite of my shape and comfort in terms of fit in clothing.   I have Hips with a capital H, so.. yeah.   Anyway, the 24 ended up being a little big – the shoulder seam is a little low, there’s too much space around the bust (another issue I have with fit in general), but the hips were right!   So, I decided to cut down the pattern to the 22, but kind of cut between the two sizes at just the hips which worked out pretty well.   I also opted for the short sleeve in the final version since I tend to layer cardigans over short sleeves.
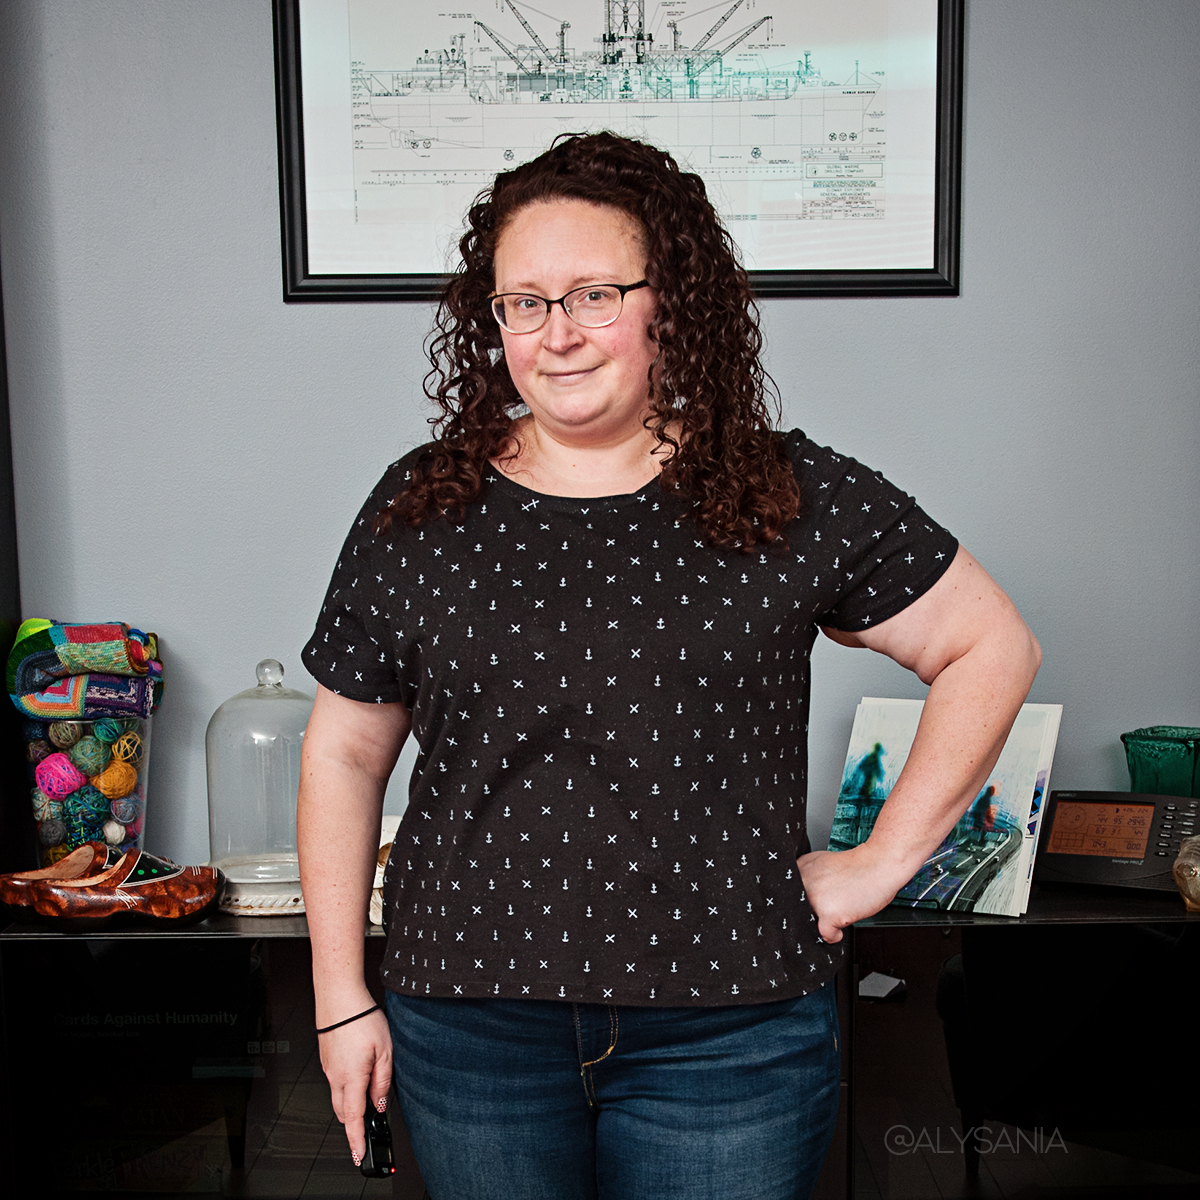
It’s not a bad fit!   I mean, it’s a fairly stretchy fabric for being cotton knit, and of course being a knit fabric means it’s got a fair bit of forgiveness in the fit anyway.   The length is surprisingly spot on, considering I’ve got a super short torso and most tops end up mid-thigh instead of just above the widest part of my hips where they should be.   If I did this again, I’d probably make the short sleeves just an inch longer, and see about maybe scooting the waist curve up a few inches.   Maybe I’d even take the bust sizing down too?   It’s a lot of fiddling around for a t-shirt, but having a go-to pattern that fits would be really great.   Also, learning how to do those adjustments on an easy-to-sew pattern would make future sewing pattern adjustments even easier.

Overall, I’m really happy with how this came out, and I absolutely will wear both the ‘muslin’ and the final t-shirt.   The pattern was incredibly easy to follow and sew, and I finished them each in maybe an hour or two between cutting and sewing.   The designer also has TONS of modifications and pattern hacks available to change the neckline, sleeves, hem line, etc, so once I’ve got a solid base fit on this, the possibilities are nearly endless which is what makes it such a great starting point for other sewing!

If you want to check out what other sewists made this month, check out the hashtag on Instagram,  #SewMyStyle2019.

Sew My Style 2019 – January

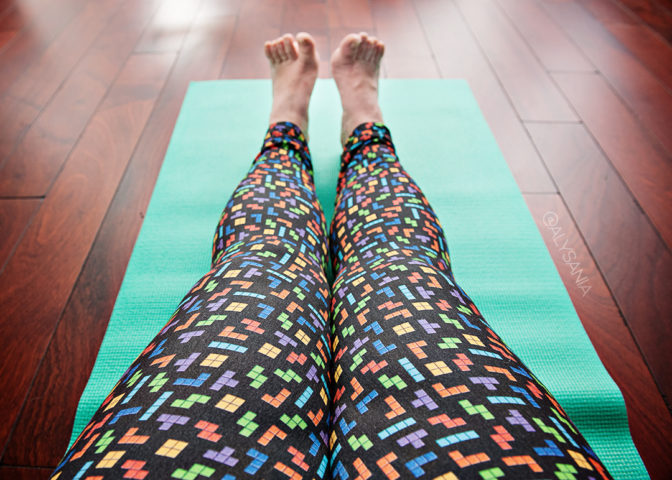
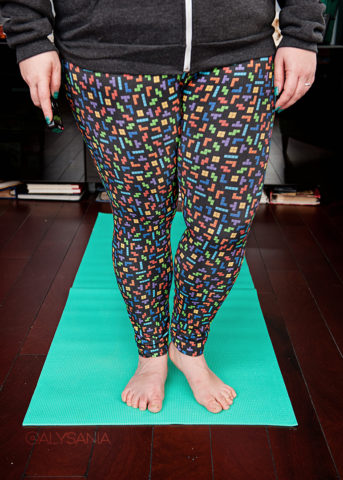
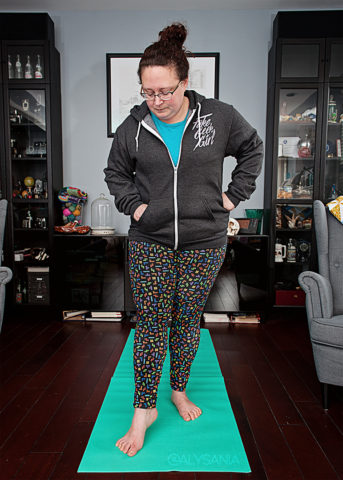
It’s reveal day for January of Sew My Style 2019!   I decided to join on this year in hopes of sewing at least one thing a month (while we’re home anyway), and having a fun challenge to work along with is great!   They set the prompt or pattern choices every month and then you go off and interpret the basic guidance however you wish which gives me just enough structure and just enough creative freedom.   January’s prompt was, “Anything Goes Workout Gear,” which left the field WIDE open.   I had an old order sitting around from the now defunct Sprout Patterns which just happened to be a pair of Sloan Leggings from Hey June Handmade in a cute Tetris print by SpaceFem.   The beauty of Sprout Patterns was that the size you selected came pre-printed on the fabric, so there was no pattern paper cutting, pinning, lining up prints, etc, etc.   It was a pretty great idea, but rather expensive, so I’m not entirely sure how popular it was.   This was my first experience with a Sprout Pattern and I have to say it went rather well!

The fabric is Spoonflower’s Cotton Spandex Jersey (93% natural cotton, 7% spandex).   I washed and dried the fabric first then cut out the pieces which maybe took all of 15 minutes for all 8 pieces which included a waistband, waistband lining, a pocket, and the left and right legs, plus two pieces of knit interfacing for the waistband lining (not included).   There were instructions to add an optional clear elastic around the waistband to help them stay up, but I really never have problems with waistbands slipping off my hips and butt so I opted against the elastic.   This was my first time sewing knits, so I took some advice and picked up stretch needles as well as Maxi-Lock stretch thread.   I did sew a couple test runs on the leftover fabric between the pattern pieces (there was LOADS), but kept having trouble with the top thread snarling up into nests occasionally on the underside.   I used a zigzag stitch and adjusted for stitch length and width a little till it got better, but it still wasn’t perfect.   Later I read that because I was using a traditional machine and not a serger, I probably should’ve only used the stretch thread on the bobbin and not the top thread, so, lesson learned!   The snarls are small and don’t happen frequently, so I left it as is, and it doesn’t seem to affect the final garment.

These maybe took me a few hours, even with making some mistakes, having to rip back the entire leg seam (I sewed it the wrong way the first time, d0h!), but if I sew this pattern again, it would probably take an hour tops.   Since the fabric is soft and stretchy, there’s a good amount of forgiveness for mistakes and fit, so they fit rather well!   The waistband comes up pretty much to my belly button, and even though I picked the petite XXL size, I still had to take off 3 inches for the hem, and just ran a zigzag stitch around the bottom to make it easier.   The ankles are a little loose, but I have that fit issue with most pants/leggings since apparently I have a plus sized butt, calves, and thighs, however my ankles are ‘standard’ size.   Go figure!   I don’t mind the ankles being a little loose since it’s probably easier to pull them over my feet, so that’s all good.   The pocket is REALLY great and was a fantastic addition to the pattern with minimal extra effort.   It’s big enough to even hold my Pixel XL although just barely, and isn’t bulky to the point that it sticks out or ends up lumpy under clothes when empty.

If you want to check out what other sewists made this month, check out the hashtag on Instagram, #SewMyStyle2019.
Retrotastic Camera Bag

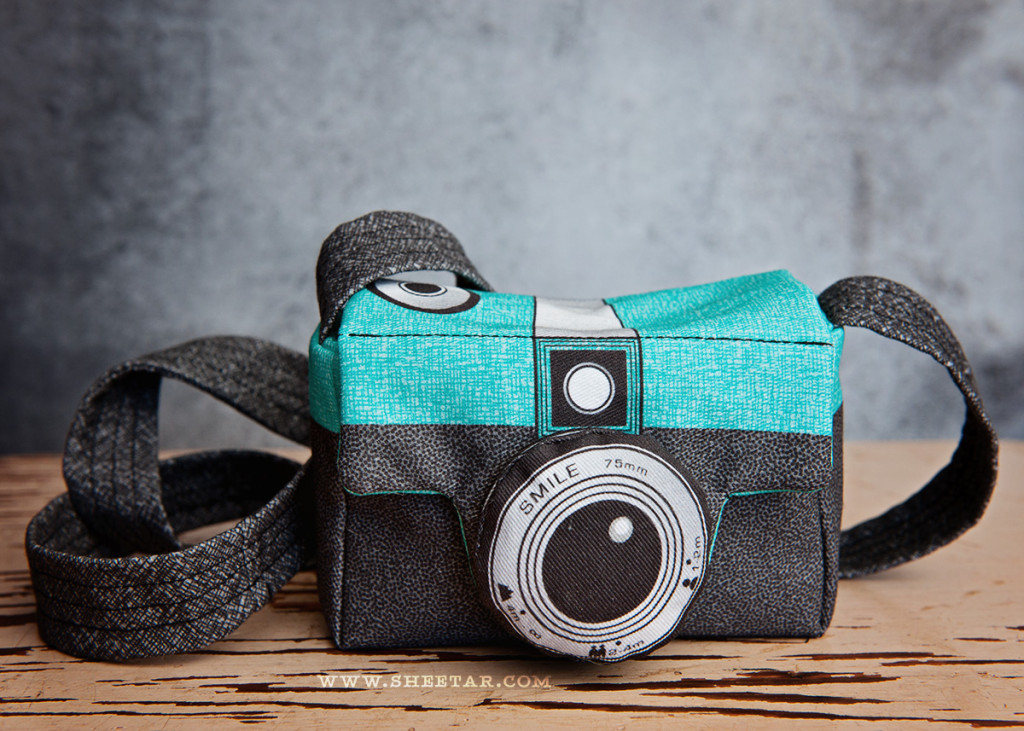
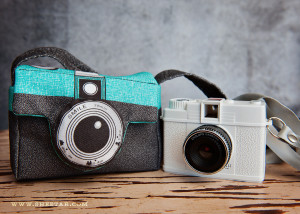
DSC_5523I’ve been on a sewing kick!  Between starting the Spoonflower Instagram Cheater Quilt challenge and finishing this project,  the sewing projects are really keeping me busy.  This project was inspired in part by the Rhianna Indiegogo campaign that was delivered recently.  I love the camera, and the idea that there’s a bag to match is pretty nifty.  The fabric is printed by Spoonflower and is basically a pattern printed on fabric  of the bag complete with markings, directions, and a cute bonus key fob.  In addition to the fabric, there’s a really great tutorial by HappySewLucky here.

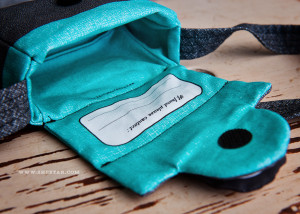
Overall, I found the sewing really easy.  Line everything up carefully, follow the directions and it’s a breeze.  One small change I made was to use fusible fleece instead of quilt batting since the instructions didn’t specify the quilt batting thickness (there are a variety of lofts available).  I was able to iron the fleece to the fabric which made it MUCH easier since I wasn’t dealing with extra pins or basting and the fleece then didn’t shift around since it was fused to the fabric.  The fabric info on the Spoonflower site says to order “Upholstery Weight Twill” which Spoonflower doesn’t make anymore – instead, they have Heavy Cotton Twill ($32/yd) and for the fat quarter needed for the project,  the cost is $17, plus $2 for shipping brings us to a total of $19 for the fabric.  The fleece I had lying around, so I have no idea what the cost would’ve been.  The puff of stuffing for the lens I snagged from a stuffed toy the boydog had mostly eviscerated (he won’t miss pulling out one teensy bit of stuffing, right?).  The velcro I did have to buy, and that was $1.99 for four sets of .75″ rounds, so only $.50 for the one set I used.  Total project cost was under $20 which isn’t too bad!  Between cutting out the fabric and sewing I think it took about an hour, and I’m no sewing expert.  The pattern is VERY well marked and the instructions thorough, so that helped make it go fairly fast.  The hardest part, by far, was turing the strap inside out which, in hindsight, I probably could’ve sewed right-side-out instead.

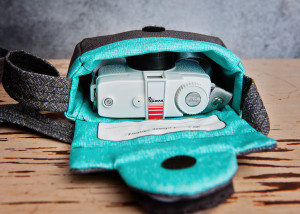
Overall?  I’m pleased!  The Rhianna fits very well inside the case, the stuffed lens bit does a great job of protecting the camera lens, and the bag is super fun to carry around.  Plus, there’s a satisfaction and pride in knowing that this is something I made with my own two hands instead of bought in a store.

DSC_5526 DSC_5528 DSC_5529

Spoonflower Cheater Quilt – Lesson 4

This week’s lesson for the Spoonflower Cheater Quilt is placing the blocks.  For a look back, here are the links to the previous lessons:
Lesson 1 & 2 – Link
Lesson 3 – Link

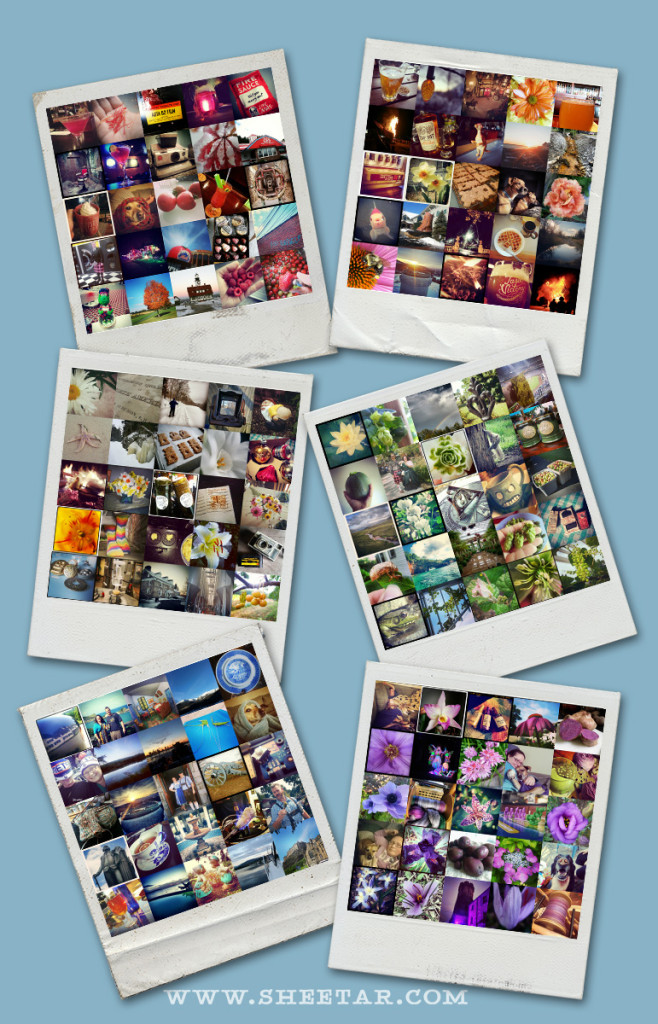
In spite of the poll very clearly going to the border I made from last week’s lesson, the design wasn’t sitting right with me.  There was too much room at the top/bottom and it looked funny with the collage blocks added in.  Something about the unused space at the top and bottom was unsettling and I didn’t like it.  I appreciate the feedback, of course, but, I gave it a week to settle in my brain and I’m really liking the polaroid option (below).  Plus, I found a cute camera  fabric to work as a backing, so I sampled the blue from the backing fabric image and am using it as my background.  I think this creates a more cohesive quilt – the cameras on the backing fabric, the polaroid frames on the front.

That out of the way, Lesson 4 goes on about how to place the collage blocks and order fabric.  The fabric we designed for in the tutorials is the Organic Cotton Sateen at $27/yard (ouch).  Any other fabric though and the quilt wouldn’t have been long enough, so I get it, but the fabric is pretty expensive.  The custom quilt front I designed came with a designer discount, so that was $24.30.  The quilt label, also printed on Organic Cotton Sateen, I ordered as a test swatch (8″x8″) for $5, containing 6 labels.  The total for the fabric is $59, shipping is another $6, for a grand total of $62.30.  It’s not cheap, but for custom organic cotton fabric, I really can’t compalin.  I decided it would be easier, this being my first time around sewing a quilt, to use regular quilt binding instead of making my own which would involve  ordering another whole yard of fabric.  Keep it simple, right?

So, here’s what we have, front and back and the quilt labels (my name is printed on the quilt label, but I’ve removed it here for privacy’s sake)

block-final

Make it Snappy!


Pretty excited to get the fabric!  I’m running a little behind on the tutorials since I wanted to be sure of my quilt topper design decision. No big deal though – once the fabric is here, I can get sewing right away and it should go pretty quickly!

Sources:
Polaroid Frames – Fuzzimo
Label – From my own stock of family photos/postcards
Quilt Back Fabric – Make it Snappy by pennycandy

Spoonflower Cheater Quilt – Lesson 3

This week’s lesson for the Spoonflower Cheater Quilt is Creating the Canvas.  For a look back, the post on Lesson 1 & 2 can be seen here.

I’m no stranger to Photoshop, so this is really the easy part for me.  I feel like this lesson should’ve been combined with adding the collage squares  because part of making sure the border works is having the content in the center to fit a border around.  I cheated a little bit and added my collage squares  from last week  at 12″x12″ just to see how they lined up to make sure my border worked well.

The canvas is set up at 56×36 which is one yard of their sateen fabric, and the border is set up 2.5 inches inside the edge.  I didn’t really like the chain of squares given in the lesson example so I set out to do something completely different.

I started out thinking it would be neat to find a border that mimics a film negative, but ended up not liking all the black from the negative design, and there was no free clipart I could find that fit just right.

Then I moved onto something that would look like a Polaroid photo border,  but those didn’t work either because the porportions looked weird on the canvas.  I may come back to this idea though and put each collage square inside a polaroid border and ditch the quilt border entirely in favor of scattering the polaroidized collage blocks at random angles across the quilt.

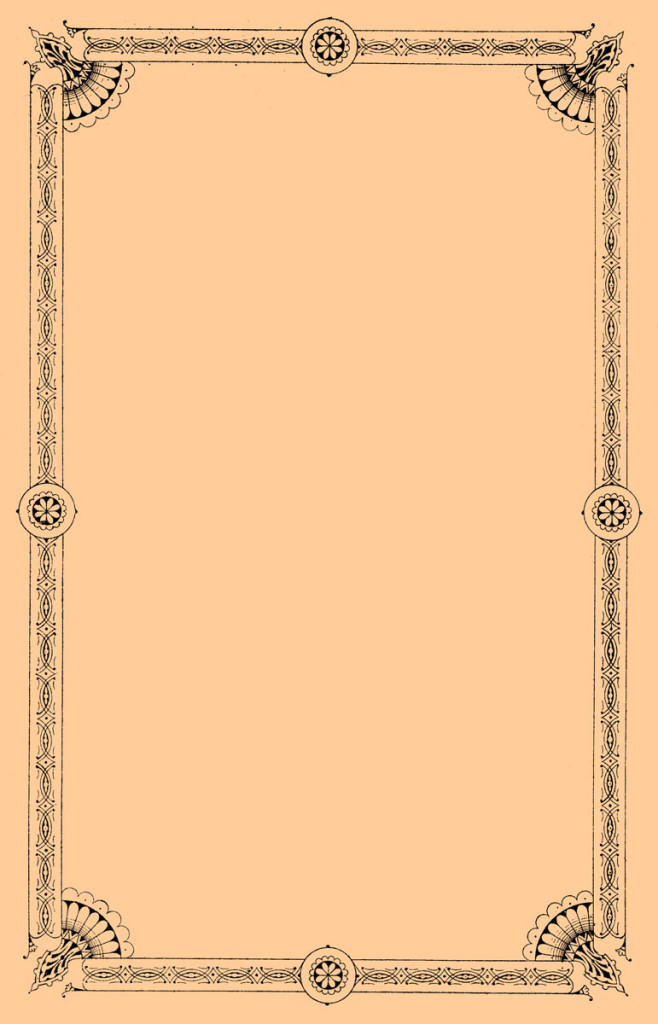
Finally, I turned to the old album of family photos from the 1980s-1910s.  It’s an absolute treasure because of the age of the photos and the beautiful backs the photographers had made up.  Every photo acted as a sort of business card, giving the family a treasured photo and the photographer a chance to gather more business.  My first choice was this card back, but it didn’t leave me enough room to put photos in the center.  The border was just too wide.  Moving on, I found this one which was perfectly suited for the layout.  The front of the card holds a photo of two unidentified children who I suspect to be children of a friend of the family.  The photographer’s location was somewhat near where my 2nd great grandfather came from, but he was an orphan, adoped by a family who came to the USA in  1872.  I cleaned up the border with some Photoshop magic and pasted it onto my canvas, having selected a color from the Color Guide.  The instructions pointed to a color guide that you’d have to have printed on fabric and shipped to your home and there was just no time for that, so instead, I checked out  this chart  which seems to cover most of the basic web color hex codes.  I ended up not using one from that chart, but set Photoshop to show only web colors and used FFCC99 as a sort of peachy neutral to mimic the sepia color of the back of the original photo as close as possible.  Another factor in chosing the color was that we have two dogs who are just about that color, so the hair is less likely to show.  It’s silly, but it’s definitely something to think about since I plan to use this quilt on the couch.

I’m still not entirely set on the border, but who knows, after the next lesson, it may grow on me!

EDIT 10 March 2015: I did futz around and try something different.  I posted a poll here, on Google+, so if you have G+ and want to vote, go ahead!

Background