Author: <span>Sheetar</span>

Socks!

The first two finished objects for the new year!

First, meet a test knit that I was working on for knottygnome.   The pattern is called “Coin Toss“.   This was my first test knit and I am really proud to have been part of testing out such a great pattern – it’s just enough to keep me engaged without being too complicated and was super fun to knit.   The yarn is a new favorite and is delightfully squishy, and that colorway!   It’s like purple chocolate.   Gorgeous.   Specs:
Pattern: Coin Toss
Designer: Knottygnome  – Sara Peterson
Needles: US 2.5 (3.0mm)
Yarn: dkKnits technicolor dream toes  in colorway “Wilder Wonka”
Ravelry Project Link
Eye Candy:

Next project!   Handspun socks.   This is the first project that I dyed the roving, spun the yarn and then knit the yarn.   I wasn’t entirely happy with how the colors came out, but it’s a learning process I suppose and maybe next time everything will comply with my will.   Specs for you..
Pattern: Generic top-down sock, from my head
Designer:  none
Needles: US 1 (2.25mm)
Yarn: Handspun superwash merino
Ravelry Project Link

I suppose I should say here that I’ve been bitten by the Noro Striped Scarf bug having seen it all over the blogosphere including the Yarn Harlot‘s blog.   I had seen it a while ago in a yarn store and bought the supplies right then and there to make it.   They’ve been sitting in the stash quietly, but decided to go off and get noisy on me this week.   I know I said I wasn’t going to start any new projects until I cleared out the UFO queue a bit, but two finished socks counts as cleaning house, right?!   Besides, it’s winter and winter means scarves.   Yep.   This is me, hunting for justification to cast on a new project  when I already have  a bunch of UFOs.   🙂

Brew Day

It was a multiple brew day.  Whew!  For a little background, the husband started homebrewing a few years ago and I started a batch or two of mead this year.  I was surprised and thrilled when my Agave Mead won 2nd place out of 31 entries in its category and things have taken off from there.

Every year, the homebrew club does a competition called the Iron Brewer based on the second runnings from a brew pub’s Barley Wine.  Everyone starts with the same wort from the second runnings and adds only one pound of fermentables (steeping whatever you can dream up) and then in a few months, the brewers at the pub judge the entries.  Last year, the husband was around and did the competition, but he isn’t in town for pick-up day this year, so I stepped up and said that we should do a team effort brew so that we can still take advantage of this awesome opportunity.  Having tasted a really great Saison at the same local brew pub, I asked if we could do a Saison (French farmhouse ale) using the wort and the husband said it was possible.  I went and picked up my bucket of wort (from 100% Weyermann Pilsner grain) and lugged it home today.  I’ve never brewed beer before – just mead – so I’ve had a bit of help from the husband.  He ground up the malt I brought home yesterday and even got a yeast starter ready for me as well as helped with directions so that I could do everything today while he’s out of town.  I managed to lug the 5 gallons of wort up the stairs and fill the brew pot and get the pot on the stove without spilling anything.  Steeped the malts, added the Sterling hops at boil and then the Saaz for the last 15 minutes, going by a recipe I had found online.  Ran the wort chiller and got the temperature down, drained it into a carboy and pitched in the yeast.  Everything went well and there were no disasters!  Granted, I still don’t know much about brewing beer since I was mostly following directions, but it will be fun to see how it comes out (and have a finished product in less than three months!).

Since I had all the equipment out and ready to go, I figured I’d do a few other things since I had the time.  There was a prickly pear agave mead and a mesquite honey mead that refused to clear (in well over 6 months), so I hit them both with a little sparkalloid and hopefully they’ll finally clear out.  Then it was on to brew another batch of mead.  This one is a modification of the last agave mead with less agave and a 1 liter container of passion fruit juice added.  I was looking to add a little more acid and a little less sugar overall.  It should work out well, but you just never know.

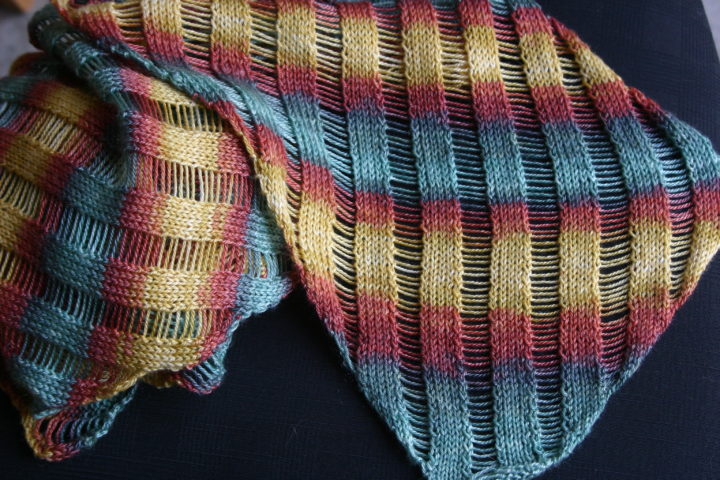
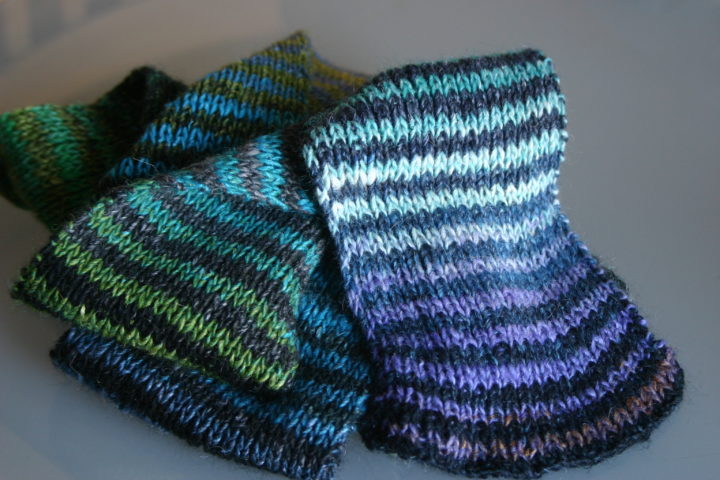
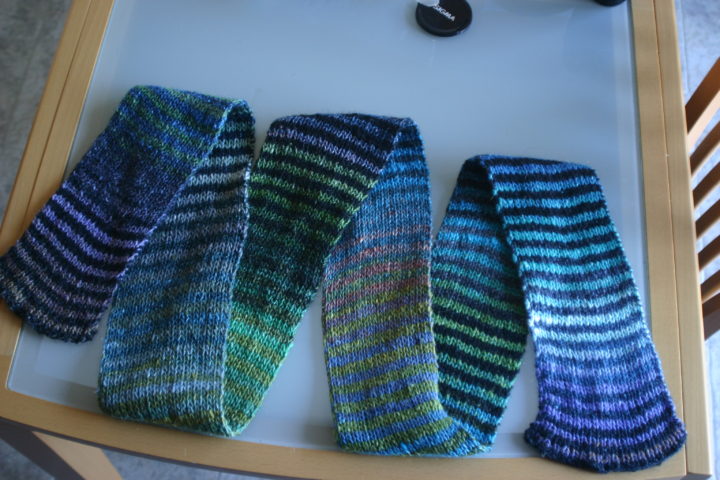
So, that’s it for today.  I feel pretty productive!  Hopefully I’ll be finishing up a pair of socks I’ve been test knitting and will have details of that coming up in the next post.

Lacing the Flyer

Someone on Ravelry mentioned that there weren’t too many results when doing a google search for “Lacing the Flyer” and I decided that it was time to start this spinning/knitting/photo/life blog with a post, FINALLY.   The site is sort of bare for the meantime, design wise, but I’m working on that, honest.

So, Lacing the Flyer.   This is a great technique to make the take-up of yarn less aggressive when spinning a fine yarn or when spinning at the core of a fresh, empty  bobbin.   In effect, you lace or pull  the spun wool (or leader if you’re just starting a new project) around the pegs just as if you were lacing up a shoe with only one side of a shoelace.   There are so many ways to do this, so I’m just going to show you the way that I do it and what works for me.   I’m not an expert, but I like to think that with spinning and knitting, what works for you personally is what works best and it’s fun to share  techniques and see how other people do things.    The wheel pictured here is a Spinolution Mach 1.
This wheel has pegs at the front that work out perfectly for lacing up the flyer at one point.   I took the wool off the bobbin and  down along the outside of the row of pegs and then around the front of the right peg and the back of the left peg, coming around to the ‘orifice’ in front.   The orifice on this wheel is a big hook instead of a more traditional tube or hole type orifice.

Here I’ve added another set of zig-zag lacing in the middle of the flyer.   This varies wheel to wheel, so you may not have those two front pegs to zig-zag across.   For this to work – you need to have space between your laced wool and the wool on the bobbin.   Typically, for me, by the time I reach the point where the bobbin wool is touching the laced wool, I don’t need to lace that back part at all anymore.   You can zig-zag as many times as necessary in order to reduce the take-up to a manageable level.

Naturally, this is no substitute for changing the tension (this one uses a tension knob), but when you’ve run out of tension to let up, this is a great way to ease the take up.